Platina API 8.0.0
Since Standard API 8.0.0, API now supports secure Authentication and Authorization based on an external identity provider.
Since Platina Standard API 8.0.0 windows authentication is NOT supported anymore.
Platina Standard API supports Authorization Core Flow and On-Behalf-Of-Flow.
This guide is an example, how to setup app registration in Microsoft Entra (Azure AD).
Step 1: Register the API in Azure AD
1. Open Microsoft Entra Admin Center
- Go to Microsoft Entra.
2. Navigate to App Registrations
- Select Azure Active Directory > App registrations.
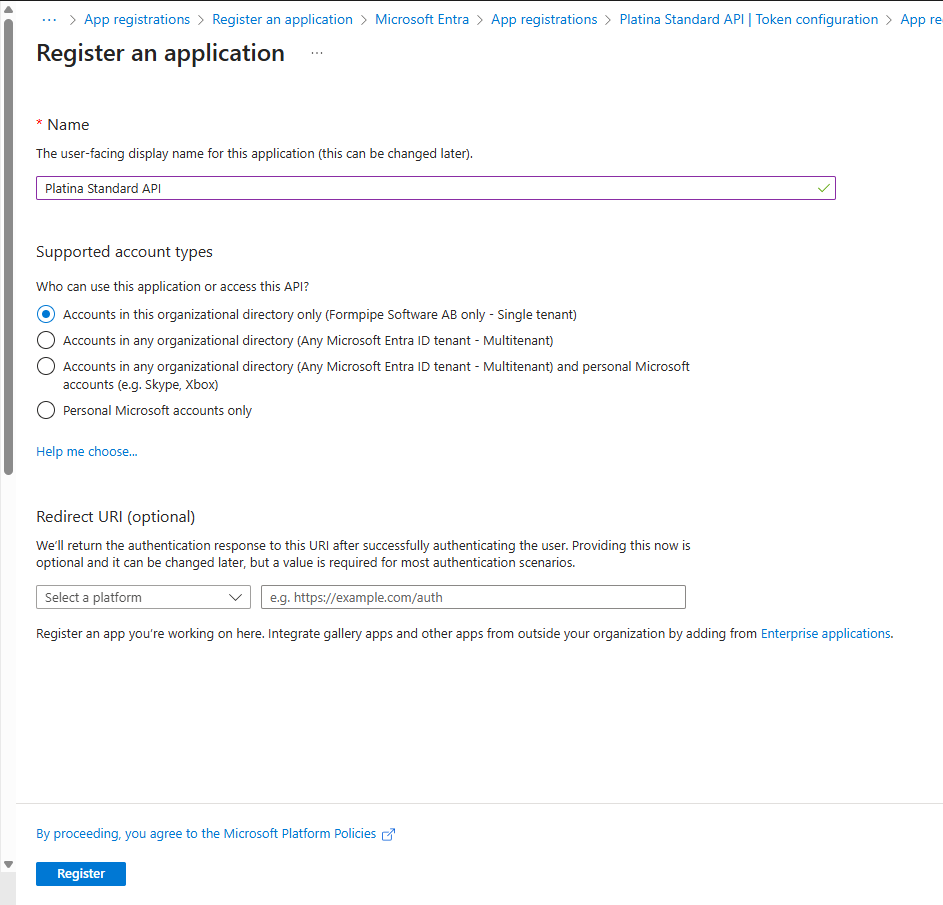
3. Create a New Registration
- Click New registration.

4. Enter Application Details
- Name: e.g.,
Platina API - Supported account types: Choose as needed for your organization.
5. Create a Client Secret
- Go to Certificates & secrets > New client secret.
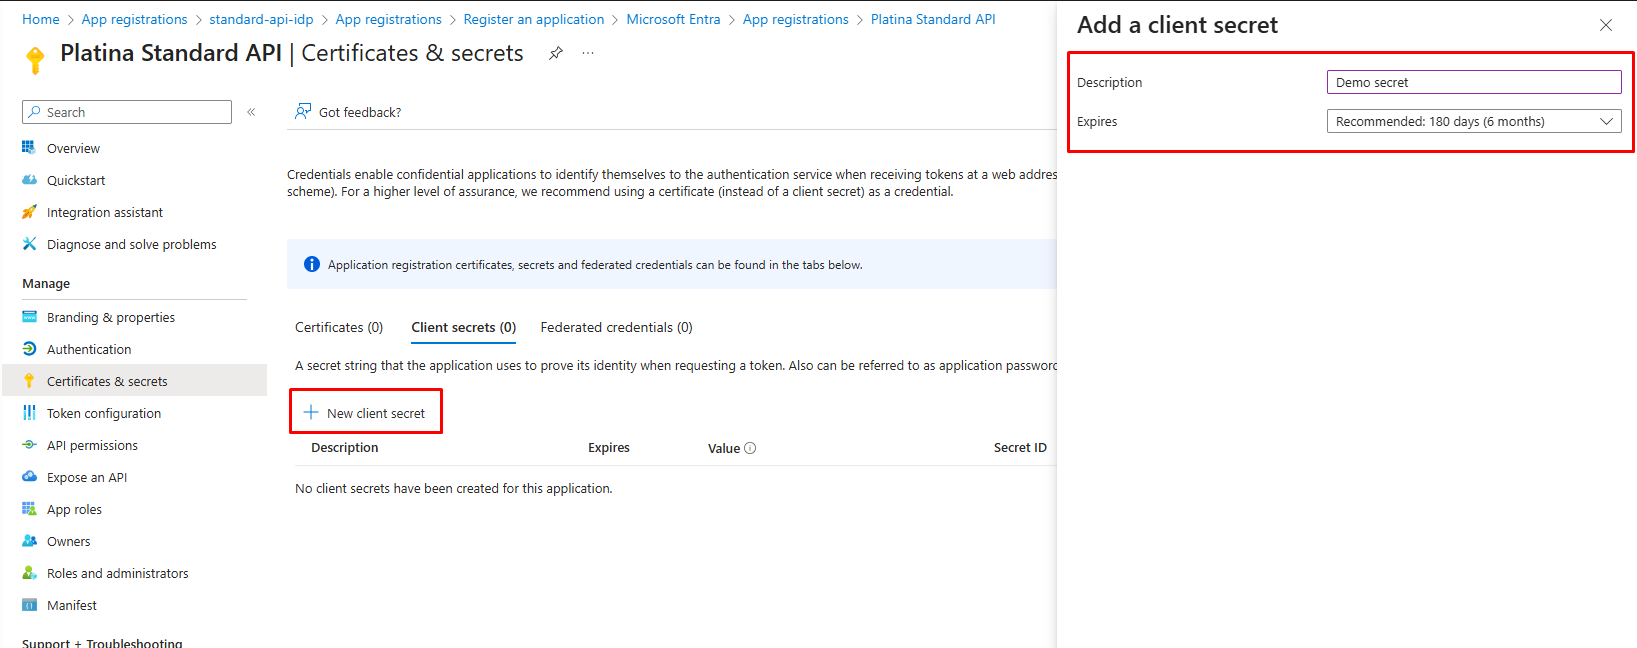

- Important: Save the client secret value immediately. You cannot view it again after leaving the page.
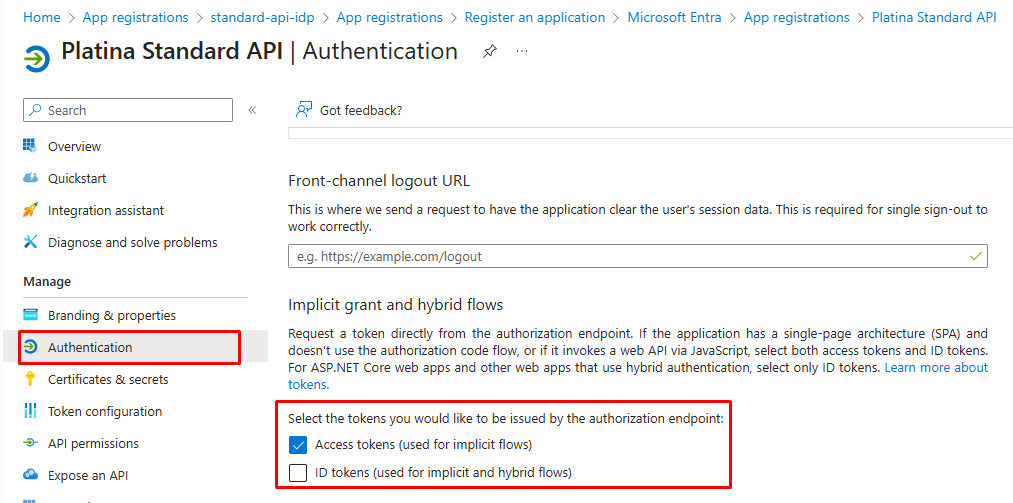
6. Configure Token Settings
- In Authentication, select Access tokens.
7. Ensure Email Claim in Authorization Token
For Platina Standard API, the authorization token must include the user's email in its claims. To configure this in Azure:
- Go to Token configuration.
- Click Add optional claim.
- Choose Access token, then select the email claim.
- Confirm and save your changes.

This configuration ensures the token contains the required email claim for successful authorization with Platina Standard API.
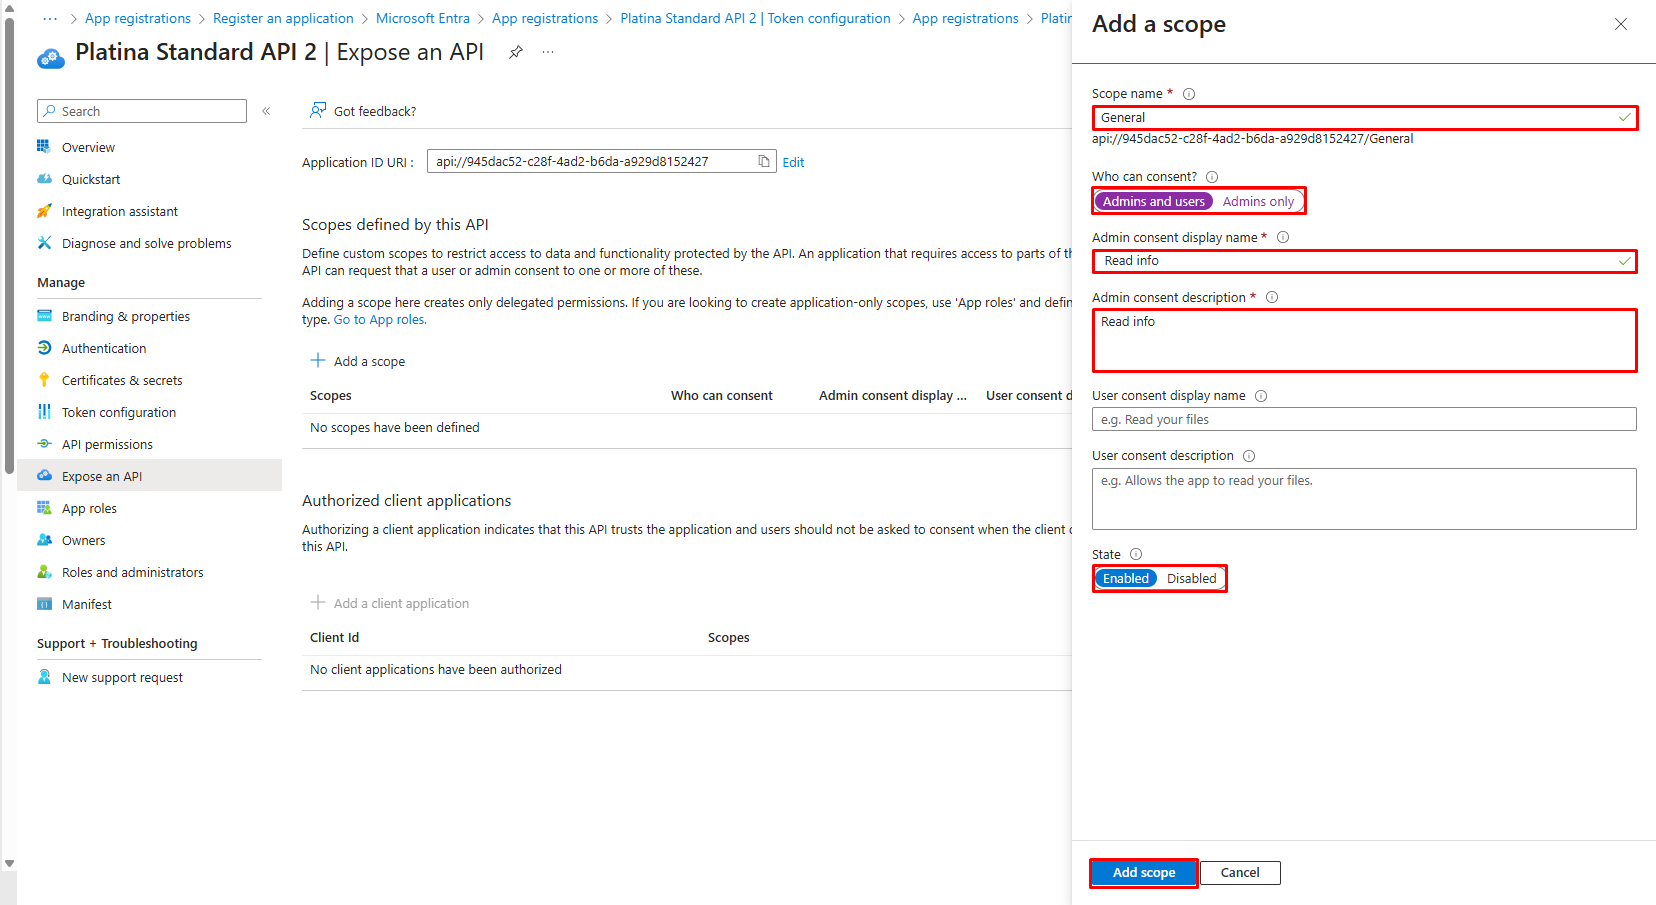
8. Expose an API
- Go to Expose an API.
- Click Add a scope then Save and continue.

- Fill in Scope name, Admin consent display name and Admin consent description fields.
- Select Admin and users option in Who can consent?
- Select Enabled state
- Click Add scope.
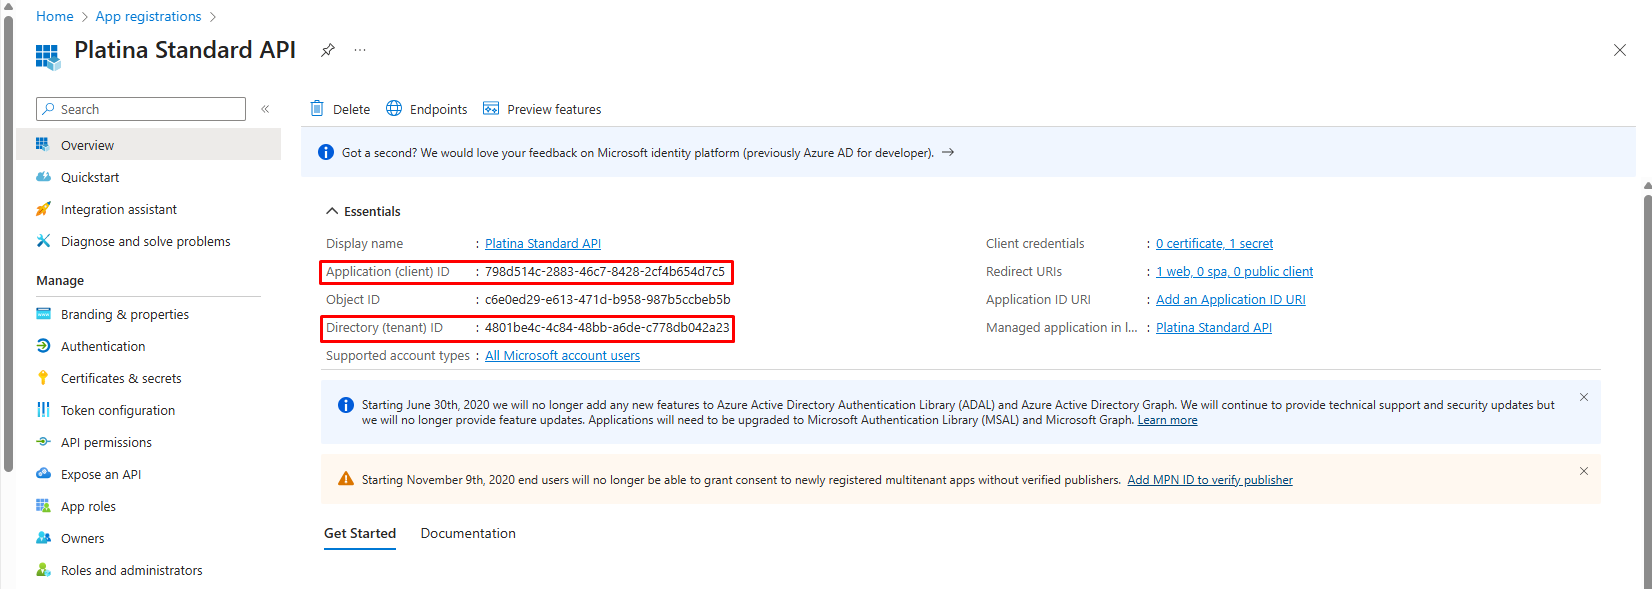
9. Collect Registration Details
After registration, note the following:
- Application (client) ID
- Directory (tenant) ID
For more details, refer to the Azure AD app registration documentation.